
The Custom Fitting Process
Thinking of getting your boots custom fitted and want to know exactly what is involved? We've outlined all the steps below for you.

STEP 1: DISCUSSION ABOUT YOUR SKIING/BOARDING EXPERIENCE
Your boot fitter will ask you:
If you ski or snowboard
What level skier or snowboarder you are? (beginner/intermediate/advanced/racer/back-country)
If you have had any problems with your ski or snowboard boots in the past
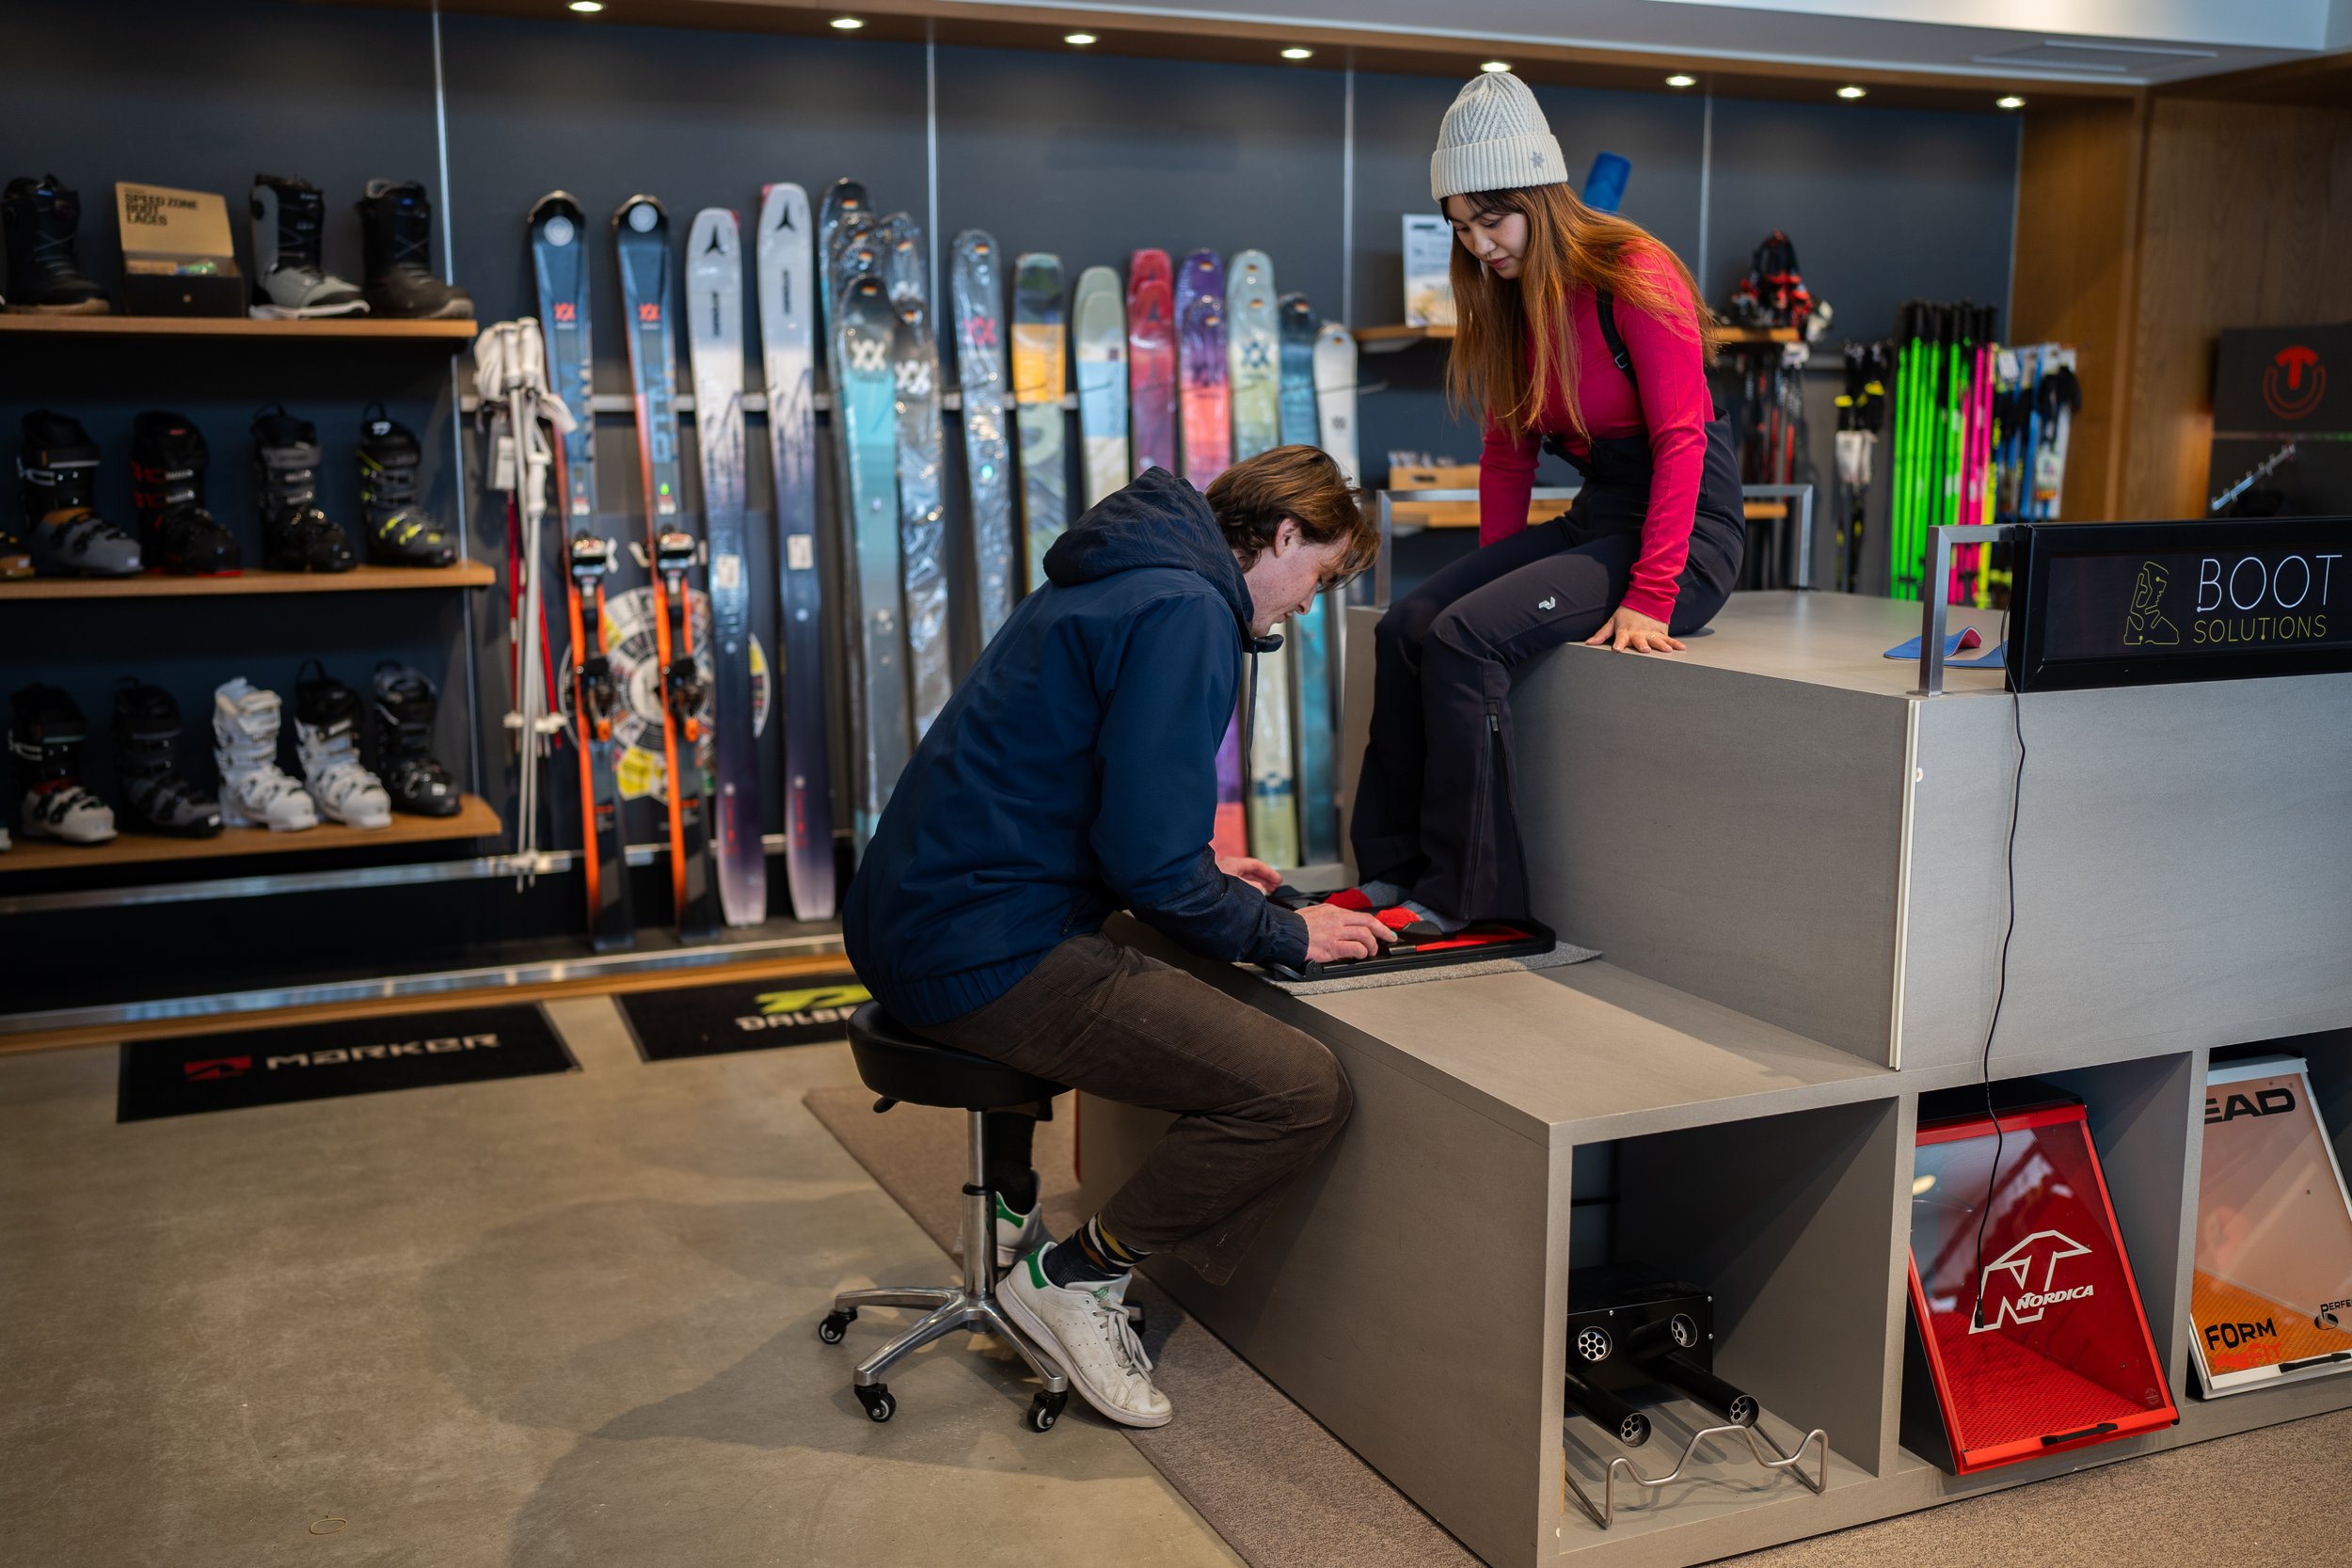
STEP 2: MEASURING YOUR FOOT
Your boot fitter will:
Measure your feet in both a seated and standing position.
Observe how much motion you have in some joints in your feet and ankles.
Observe or measure how wide your feet are and identify any areas that could cause you problems (bony areas)


STEP 3: SOCKS
Your boot fitter will ask you to put on your ski/snowboard socks - if you don’t have a pair of ski/snowboard socks, we stock a wide range of socks that will work exceptionally well in your new boots. The key components of a sock are:
Long - so the sock extends above the cuff of the boot.
Thin - so the best possible fit is gained when fitting your new boots.
Our socks are made from a high quality merino wool that helps to wick moisture away from the foot, as well as assisting with insulation.
The elastin component within the socks ensures that they retain their shape, as well as staying in place all day long while you’re enjoying yourself on the slopes.
Tip: The sock should be the only thing inside the ski/snowboard boot (i.e no thermals/pants etc)
STEP 4: THE BOOT COMPONENTS
A ski or snowboard boot is made up of three components:
Shell: Made of plastic and can be stretched out in places by your boot fitter to give your feet or ankles more space if necessary.
Liner:
Generic Liner: supplied with ski boot
Intuition Liner: high quality intuition foam - used to improve fit and feel of the boot
ZipFit Liner: high quality cork and oil liner - improves fit around the heel especially, allows more space in the front of the foot. Durability is a lot longer than above liners.
3. Footbeds: Used to give you a solid and supportive foundation when skiing or snowboarding. Our footbeds are custom made for your foot and replace the generic, flat insole that comes with your boot. Footbeds improve the fit, comfort and performance of the ski or snowboard boot.
STEP 5: BOOT SELECTION
Your boot fitter will draw upon their knowledge of ski and/or snowboard boots to select a small range of boots that would fit you best, based upon the information that has been gathered regarding your foot size and shape, your ski or snowboard ability and any problems that you have experienced in the past.
STEP 6: CHECKING THE FIT
First your boot fitter will check the fit of your foot within the shell of the boot. To do this they will ask you to:
Step your foot into the shell
Move your foot to the front of the boot, so your toes are just touching the end.
Your boot fitter will need to inspect how much space you have between your heel and the back of the boot - make sure your toes are still just touching the end of the boot when they do so.
Move your heel back into the back of the ski or snowboard boot - your boot fitter will be able to assess how much room you have over your instep.


STEP 7: TRYING ON THE LINER
If your boot fitter is satisfied with the fit of the shell, next you will try the boot on with the liner.
When you first put the boot on, naturally, your foot will go all the way to the front of the boot and your toes might feel a bit crushed. Don’t worry, your boot fitter will help you buckle up your boots, which will pull your heel back and pull your toes away from the front of the boot. The boot will feel tight when you initially put it on.
STEP 8: WEARING THE BOOTS
Once you have both boots on, your boot fitter will ask you to spend some time in the boots. You will be required to stand and flex in the boot (bending at your knees). This will allow the liner foam to mould to your foot and leg. The best boot is going to be one that has an even, snug feel across your entire leg and foot.


STEP 9: ASSESSING THE COMFORT OF THE BOOT
After a few minutes your boot fitter will want to know how each boot feels.
Is there any high pressure areas?
Is there any low pressure areas?
Are you experiencing any discomfort?
Which boot feels more consistently snug?
STEP 10: COMPARING BOOT MODELS
Depending on your foot size, shape and skiing or snowboarding ability, your boot fitter may have another boot for you to compare to. If so, you will repeat the same process, so you can compare the new boot against the best fitting boot of the first pairs that you tried on.
Congratulations - you have found the boot that fits your foot best - but there is still some work to be done to customise the boot.
STEP 11: CUSTOM FOOT BEDS
Making a pair of custom footbeds is essential for a custom boot fit.
A biomechanical assessment of your foot and leg will be conducted.
A custom mould will be taken of your foot.
Depending on your foot type, you might be asked to sit or stand.
The footbeds are heat sensitive, and as they cool, they will begin to set.
This process may take up to 20 minutes.
Your boot fitter will then use your custom moulds to create a pair of supportive footbeds.


STEP 12: HEAT MOULDING OF THE LINER
You are your boot fitter will have now worked out what liner suits you best and it’s time to mould it to the contours of your foot. The liner will be heated up and toe caps and padding may be applied to your feet (only for the heat moulding process).

STEP 13: PUTTING IT ALL TOGETHER
You will now try on your new boots with your new custom footbeds.
You should feel that you have a bit more space at your toes.
The footbeds should feel supportive, but not like there is a marble under your arch
Your boots will be covered by our two season Full Fit Guarantee - any additional work that is required to improve the fit of the boots will be done free of charge.


